Edit Mode

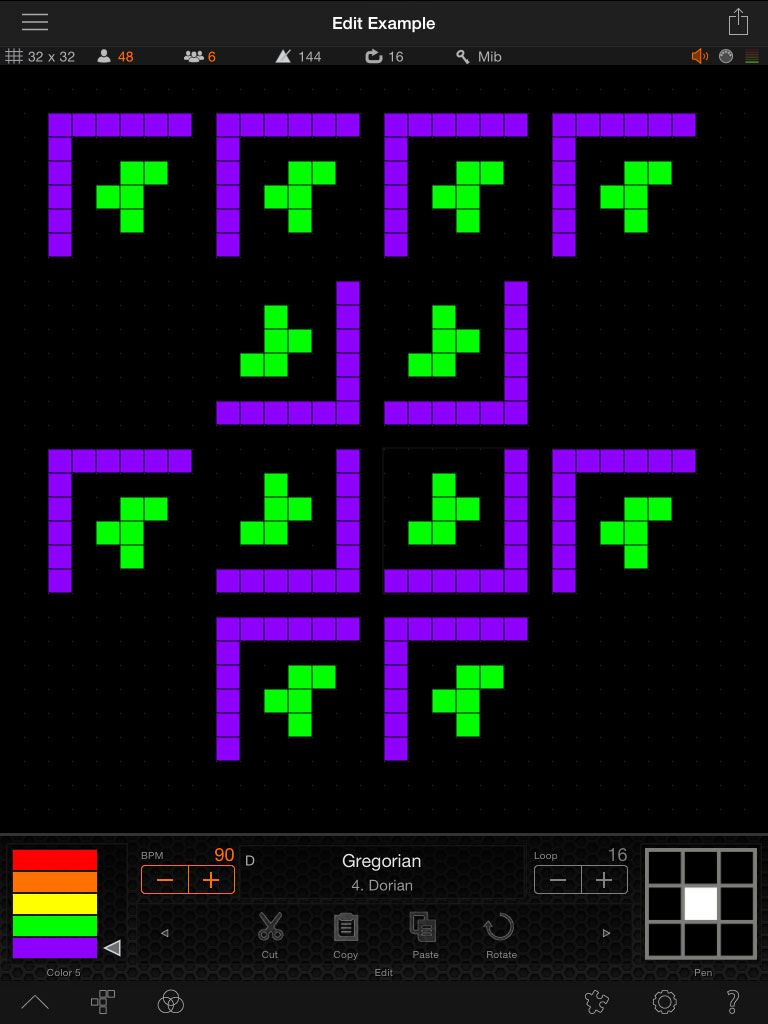
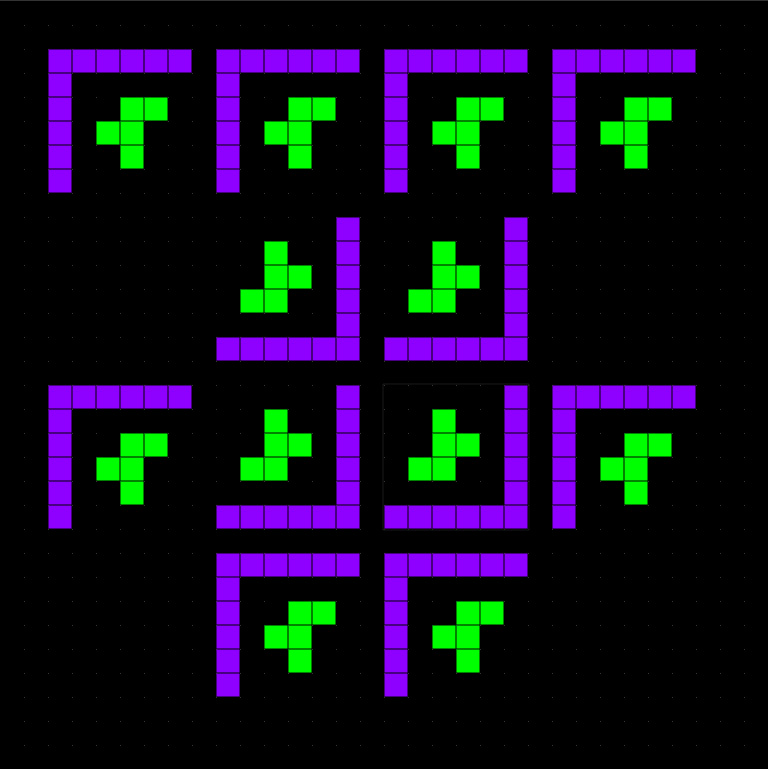
This and the next chapters are held in a tutorial style and allow you to follow along if you like. We are going to create the composition seen above step by step and will use only the tools available in Edit Mode.
Making a Selection
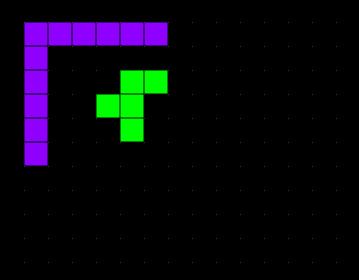
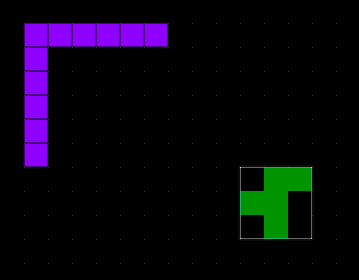
The image above is what we start out with. We quickly went over to Draw Mode and drew up 2 purple lines using the single square pen and then added an r-Pentomino in green. In order to move that little guy to a more central position inside the purple lines, we first of all need to select it. Simply dragging inside the grid display generates a familiar rubberband rectangle and somewhat dims the underlying cells. Like so:
Dragging in Quincy's world grid when in Edit Mode always generates a selection rectangle. To make it go away just briefly tap anywhere outside the rectangle. To move an existing selection rectangle tap and hold inside the rectangle - then drag it to where you want it.
Using the Cut Tool
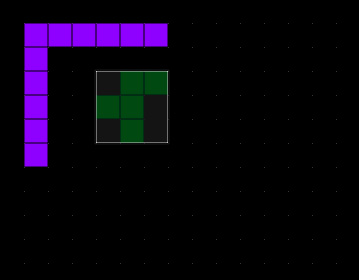
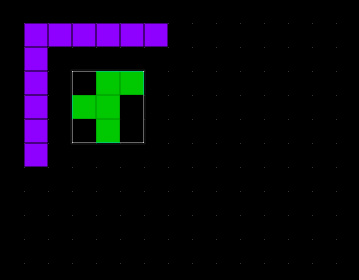
Since we cannot drag the underlying cells by dragging the selection rectangle - dragging only moves the selection rect - we have to use the Cut Tool, then drag the selection box with its new content to the new location and paste its contents there. Tapping the Cut Tool with the selection rectangle as seen above generates this:
There is a subtle change in the appearance of the selection. The cells are now brighter and lost their divisions. That indicates that we have content on the pasteboard. We can now drag the selection rectangle by carefully placing our finger inside of it to where we want it.
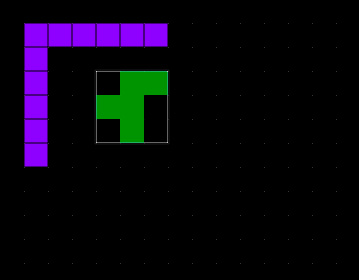
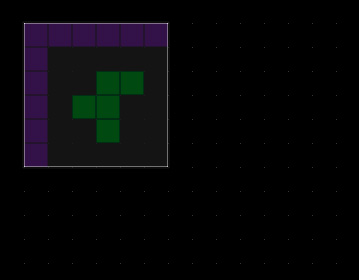
Above we are just showing that the Cut Tool has indeed deleted the cells under our selection box. And - we are free to move the freshly copied content around. Now lets move it to where we want it and tap the Paste Tool.
Using the Paste Tool
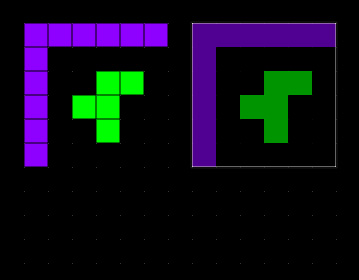
Voilà! Again there is a subtle change. The cell delineations have reappeared to a degree, but not quite as clearly as in the original. The reason is that we see the pasted cells overlayed by the merged cells in our selection box. Tapping outside the box somewhere in the grid display releases it. That brings up a very important point: With the selection box goes the clipboard content. This is different than on a desktop machine where we have menu commands for copy/paste and such. So always be mindful when dismissing the selection box if you have cut or copied anything.
Using the Copy Tool
Now lets select a square around all our content so far.
At this time we want to paste multiple instances of our copied content. So here we'll just use the Copy Tool and the Paste Tool later. A brief reminder - the tools in this toolset require a selection and are grayed out if there is no selection rectangle showing in the grid display.

As we can see we have copied the content under the selection box to the clipboard. Now lets move it to the side ... .
As seen above we have the original content to the left and the dragged selection box to the right.Again we can tell that there is content on the clipboard by the way the cells are all merged together. Tap the Paste Tool once, move the selection box, paste again and so forth:
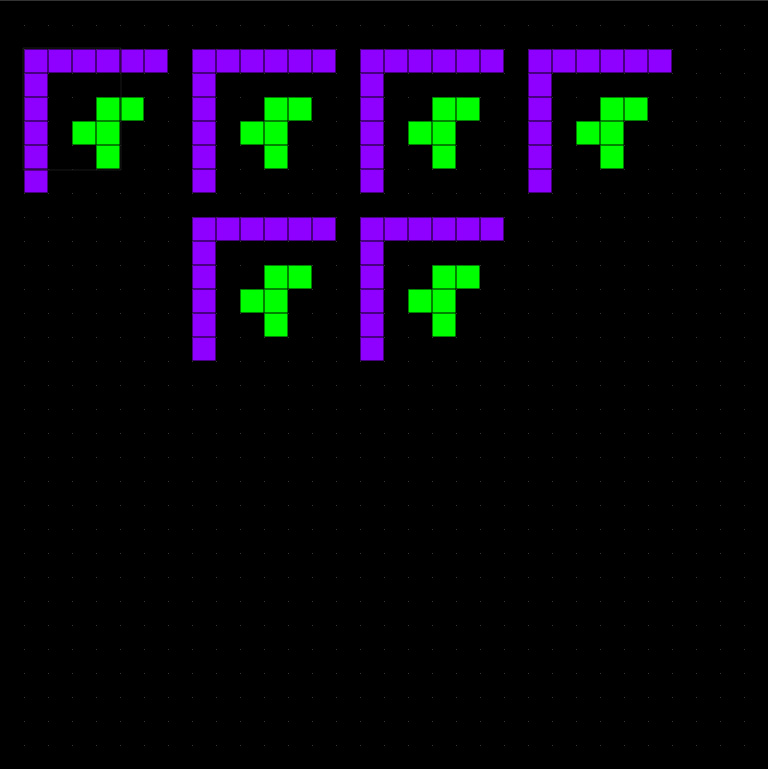
Easy as pie. Now select all of that content, copy it, move it down and paste all of it one time.
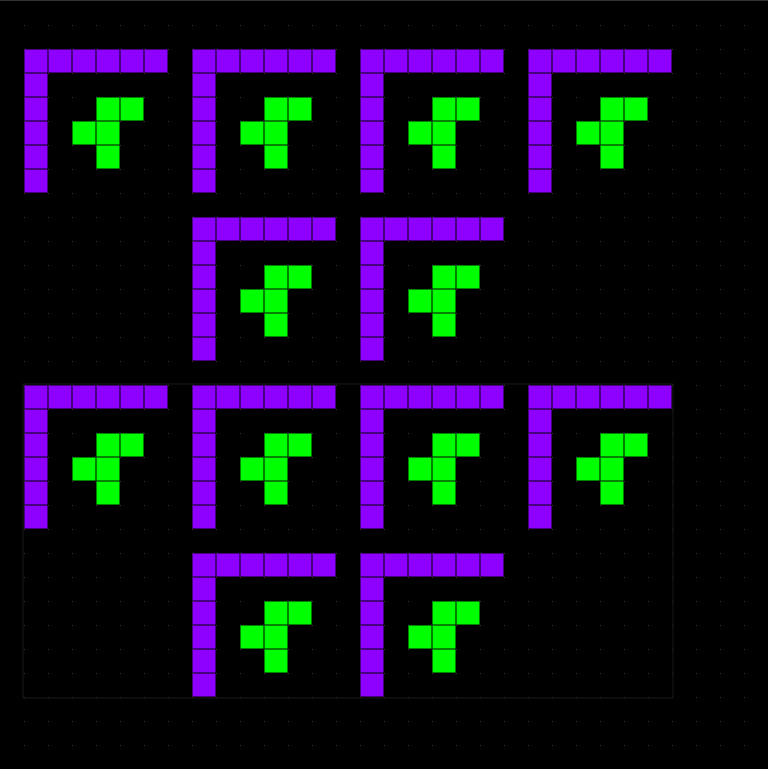
Great. To have things a bit more centered select everything with a tightly fitting rectangle and move it a bit to the right. To move things we need the Cut Tool again and want to be careful not to release the selection rect before we're done.
Using the Rotate Tool
To replicate the image at the top of this page we will need to do some rotation. The Rotate Tool has one requirement. It only works with square selections. You can tell if a selection rectangle is square, because the Rotate Tool will light up as soon as it is. So let's select the first group of cells in the second row - like so:
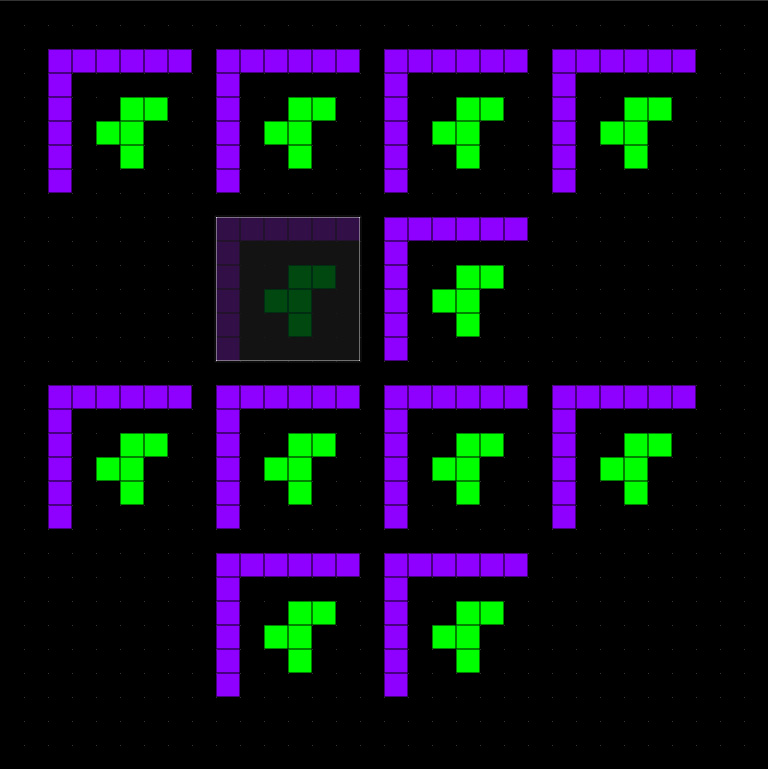
Now tap the Rotate Tool twice for a 180º rotation of the content under the selection box. And - we're good:
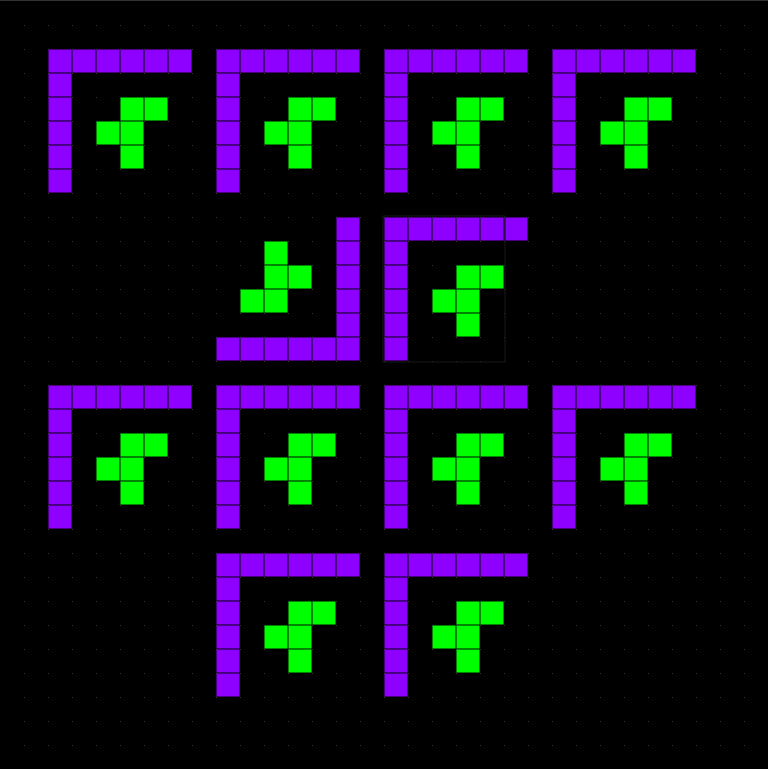
Here is a trick. Since the Rotate Tool doesn't copy to the clipboard, we are not too concerned about losing any copied content, but keeping the selection rectangle alive makes fast work of the other three rotation we still have to do. Simply move the selection box over to the next group to rotate, tap the Rotate Tool twice and so on. That finally leaves us with the exact replica of what we saw at the start of this chapter. Not too bad.
One last thing to keep in mind here is that we are always copying cells in these transactions. There is no black background as such - those are cells as well - they just happen to be dead. So if we make a selection of a black area and paste it anyplace, we are pasting a bunch of dead cells.
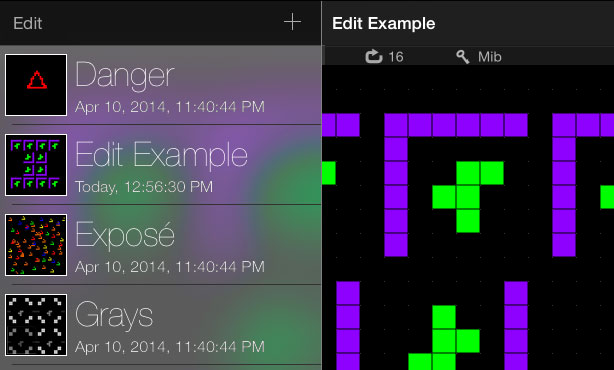
Finally if we take a look at our documents list, we'll see that it has updated the thumbnail for our Edit Example. We are done!
Summary
Editing in Quincy looks similar to that in draw program, but only on the surface. We are always moving cells that are either dead or alive. There is no transparancy layer in that sense and all paste operations are opaque. The other important thing to take away here is that our clipboard content vanishes with the selection rectangle.
There is still one mode we haven't covered yet - the Draw Mode. So let's take a look at that now.